Transform Your Bathroom: DIY Vanity Makeover Under $50
Anúncios
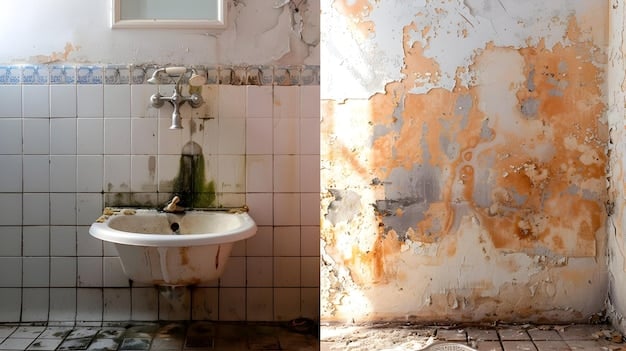
Transform your bathroom with a stunning DIY vanity makeover using just $50 in paint, new hardware, and readily available tools, creating a fresh, updated look on a budget.
Want to give your bathroom a fresh, new look without breaking the bank? A transform your bathroom: diy vanity makeover with $50 in paint and new hardware is a fantastic way to achieve a stylish upgrade while saving money. Let’s dive into how you can revamp your vanity and breathe new life into your bathroom.
Anúncios
Why a DIY Vanity Makeover?
Embarking on a DIY vanity makeover is more than just a cosmetic upgrade; it’s a practical and cost-effective way to transform your bathroom. By choosing to do it yourself, you gain control over the design and materials, allowing for a personalized touch.
Cost Savings
One of the primary reasons to consider a DIY approach is the significant cost savings. A brand-new vanity can be expensive, but with a little effort, you can achieve a similar result for a fraction of the price. Using leftover paint, inexpensive hardware, and your own labor can keep your budget in check.
Anúncios
Personalization
DIY projects allow you to express your unique style and taste. You can choose colors, finishes, and hardware that perfectly match your bathroom’s aesthetic. This level of customization is hard to achieve with prefabricated vanities.
- Budget-Friendly: DIY makeovers save money compared to buying new vanities.
- Customizable: Express your style with personalized colors and hardware.
- Eco-Friendly: Repurposing old furniture reduces waste.
By opting for a DIY vanity makeover, you not only save money and personalize your space but also contribute to a more sustainable lifestyle. Repurposing and refinishing existing furniture is an environmentally conscious choice.
Gathering Your Supplies
Before starting your DIY vanity makeover, it’s essential to gather all the necessary supplies. Having everything on hand will streamline the process and prevent unnecessary interruptions.
Paint and Primer
Choosing the right paint and primer is crucial for a lasting finish. Opt for a paint specifically designed for cabinets or furniture, as these paints are more durable and resistant to moisture. A good primer will ensure the paint adheres properly to the vanity surface.
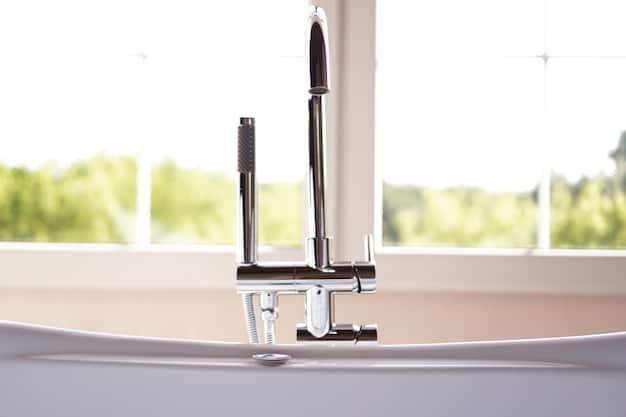
Hardware
New hardware can dramatically change the look of your vanity. Select knobs, pulls, or handles that complement your chosen paint color and overall bathroom style. Look for affordable options at local hardware stores or online retailers.
- Paint: Select a durable paint suitable for cabinets/furniture
- Primer: Ensures proper paint adhesion.
- Hardware: Choose affordable and stylish knobs/pulls.
Carefully consider the finish and style of your hardware to ensure it matches your vision. Simple changes like swapping out old knobs for sleek, modern pulls can make a significant difference.
Preparing the Vanity for Painting
Proper preparation is key to achieving a professional-looking finish. This involves cleaning, sanding, and priming the vanity surfaces to ensure optimal paint adhesion.
Cleaning and Sanding
Start by thoroughly cleaning the vanity with a degreasing cleaner to remove any dirt, grime, or grease. Then, lightly sand the surfaces with fine-grit sandpaper to create a slightly rough texture that the primer can grip onto.
Priming
Apply a coat of high-quality primer to all surfaces that will be painted. Primer not only improves paint adhesion but also helps to block stains and create a uniform surface for the paint to adhere to.
Taking the time to properly prepare your vanity will result in a smoother, more durable finish. This crucial step ensures that your paint job stands the test of time.
Painting the Vanity
Once the vanity is prepared, it’s time to apply the paint. Use steady, even strokes and allow each coat to dry completely before applying the next.
Applying the First Coat
Begin by applying a thin, even coat of paint. Avoid applying too much paint at once, as this can lead to drips and runs. Focus on achieving consistent coverage across all surfaces.
Applying Subsequent Coats
After the first coat has dried, lightly sand any imperfections and apply a second coat of paint. Depending on the color and coverage of your paint, you may need to apply a third coat to achieve the desired result.
- Thin Coats: Avoid drips by applying thin, even coats.
- Sanding: Lightly sand between coats for a smooth finish.
- Drying Time: Allow each coat to dry completely.
Patience is key during the painting process. Allowing each coat to dry thoroughly and sanding lightly between coats will ensure a smooth, professional-looking finish.
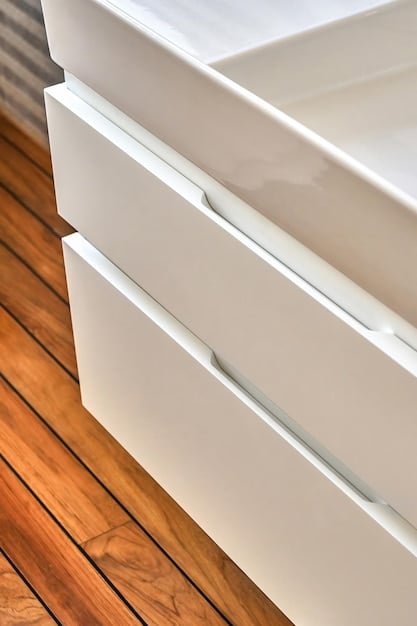
Installing New Hardware
Installing new hardware is a quick and easy way to enhance the look of your newly painted vanity. Choose hardware that complements your paint color and overall bathroom style.
Selecting the Right Hardware
Consider the size, shape, and finish of your hardware to ensure it fits well with your vanity and bathroom decor. Measure the existing holes to ensure the new hardware will fit properly.
Installation
Use a screwdriver or drill to install the new knobs, pulls, or handles. Make sure to tighten the screws securely, but avoid over-tightening, which could damage the vanity.
Replacing old hardware with new, stylish pieces can instantly elevate the look of your vanity. Even a small change can make a big impact.
Adding Finishing Touches
Once the paint is dry and the new hardware is installed, it’s time to add the finishing touches that will complete your DIY vanity makeover.
Sealing and Protecting
Consider applying a clear coat of sealant or varnish to protect the painted surface from moisture and wear. This will help to prolong the life of your makeover and keep your vanity looking its best.
Accessorizing
Complete your vanity makeover by adding stylish accessories, such as a new soap dispenser, toothbrush holder, and decorative towels. These small details can tie the whole look together.
- Sealant: Protect the paint from water damage.
- Accessories: Add stylish accessories for a cohesive look.
- Clean-up: Wipe down the vanity and surrounding area.
With a little attention to detail, you can transform your bathroom into a stylish and inviting space. Enjoy your newly renovated vanity and the sense of accomplishment that comes with completing a DIY project.
Maintaining Your Revitalized Vanity
To ensure your DIY vanity makeover stands the test of time, basic maintenance and care become imperative. This involves regular cleaning and protection from common bathroom hazards.
Regular Cleaning
Routine cleaning is essential for keeping your vanity looking its best. Utilize a soft cloth and a mild cleanser to wipe down the surfaces, avoiding harsh chemicals that could harm the paint or sealant.
Protecting from Moisture
Bathrooms are known for their high humidity, which can be tough on painted surfaces. Ensure your vanity is well-ventilated and promptly wipe away any water splashes to prevent moisture damage.
Simple care routines can significantly extend the life of your DIY vanity transformation. By incorporating these practices, you can protect not only your investment but also the aesthetic appeal of your bathroom.
| Key Point | Brief Description |
|---|---|
| 💰 Cost Savings | DIY makeover is cheaper than buying new vanities. |
| 🎨 Personalization | Choose colors, finishes, and hardware that match your style. |
| 🛠️ Preparation | Clean, sand, and prime the vanity surfaces for better results. |
| 💧 Maintenance | Regular cleaning and moisture protection extend the life of the makeover. |
Frequently Asked Questions (FAQ)
▼
For bathroom vanities, opt for paints specifically designed for cabinets or furniture. These paints are more durable and resistant to moisture. Also, consider using a primer to improve adhesion and protect against stains.
▼
Start by cleaning the vanity thoroughly with a degreasing cleaner. Then, lightly sand the surfaces with fine-grit sandpaper to create a slightly rough texture. Apply a coat of high-quality primer for optimal paint adhesion.
▼
While you can use various types of hardware, it’s essential to choose pieces that complement your vanity’s style and color. Ensure the new hardware fits existing holes and consider the finish to match the overall aesthetic.
▼
Apply a clear coat of sealant or varnish to protect the painted surface from moisture and wear. Ensure your bathroom is well-ventilated and promptly wipe away any water splashes to safeguard your vanity.
▼
Look for affordable soap dispensers, toothbrush holders, and decorative towels at discount stores. You can also repurpose items you already own or create DIY accessories to add a personal touch without spending much money.
Conclusion
A DIY vanity makeover with $50 in paint and new hardware is an affordable and impactful way to transform your bathroom. By following these steps and adding your personal touch, you can achieve a stylish and updated look without breaking the bank, resulting in a refreshed and inviting space.


