Upgrade Your Curb Appeal: DIY House Number Planter for Under $75
Anúncios
Transform your home’s exterior with a DIY house number planter for under $75, adding a personalized and welcoming touch to your curb appeal while showcasing your green thumb.
Ready to boost your home’s curb appeal without breaking the bank? Building a DIY house number planter for under $75 is an easy and affordable way to add charm and personality to your property.
Anúncios
Why a DIY House Number Planter?
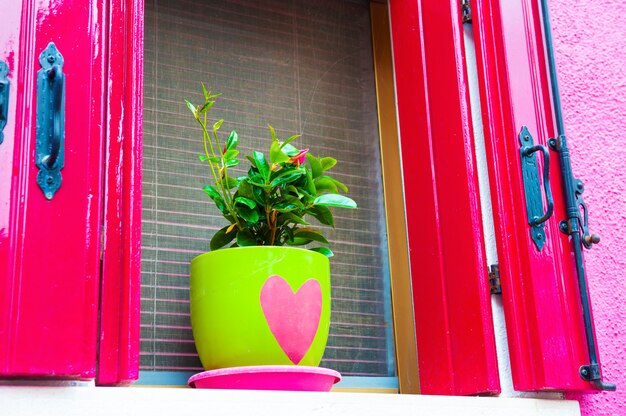
More than just displaying your address, a house number planter is a unique statement piece. It combines functionality with aesthetics, offering a fresh and inviting look to your front yard.
Think of it as a mini-garden that also serves a practical purpose. It showcases your creativity and adds a personalized touch that generic house numbers just can’t match.
Anúncios
Planning Your House Number Planter
Before you start gathering materials, careful planning is essential. This ensures you build a planter that fits your style and complements your home’s architecture.
Consider the following steps to create a solid plan for your DIY project.
Choosing the Right Materials
The type of wood you select impacts the planter’s durability and appearance. Cedar and redwood are excellent choices due to their natural resistance to rot and insects. Pressure-treated lumber is another option, though it requires careful handling.
Selecting Your Plants
Plant selection should match your local climate and personal preferences. Succulents are low-maintenance and thrive in sunny locations, while annuals offer seasonal color. Herbs like lavender or rosemary add fragrance and visual appeal.
- Climate considerations: Ensure your plant choices thrive in your local weather conditions.
- Aesthetic preferences: Select plants that complement your home’s style and color scheme.
- Maintenance level: Choose plants that align with your gardening experience and available time.
Planning well ensures your house number planter not only looks great but lasts long too.
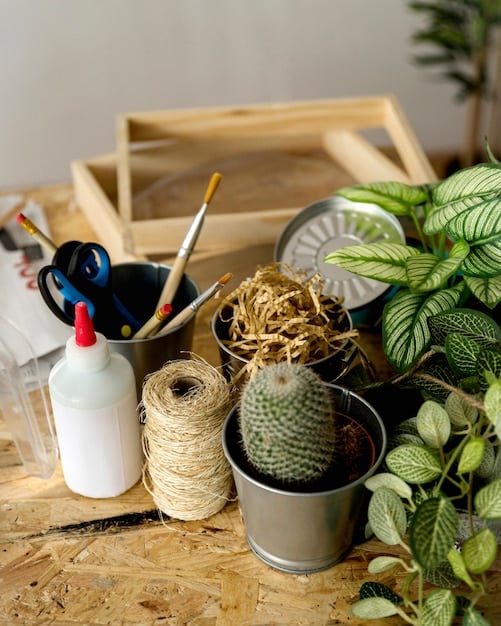
Gathering Your Supplies (Under $75)
Sticking to a budget of $75 requires resourceful shopping and strategic material selection. It’s about smart choices and maximizing value for every dollar spent.
Here is a list of budget-friendly supplies you’ll need.
Lumber and Hardware
Look for affordable lumber options like common pine or even reclaimed wood. Visit your local hardware store or lumberyard to explore various options. Check the bargain bin for discounted materials, or consider using leftover wood from previous projects.
House Numbers and Planter Essentials
Purchase house numbers from a home improvement store or online retailer. Select numbers that are easy to read from the street. You’ll also need basic gardening supplies like potting soil, landscape fabric, and drainage materials such as gravel or small stones.
Step-by-Step Construction Guide
Building your house number planter involves a series of straightforward steps. Following these instructions, you’ll create a functional and visually appealing addition to your home.
Here’s how to assemble your DIY house number planter.
- Measure and cut the lumber: Cut the wood according to your desired planter dimensions, typically a rectangular box.
- Assemble the planter box: Use screws or nails to assemble the sides, bottom, and back of the planter, ensuring it’s sturdy.
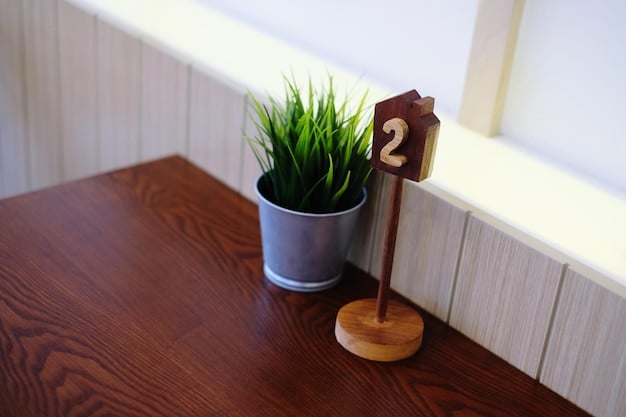
- Attach the house numbers: Mount the house numbers securely on the front of the planter box, evenly spaced and easy to read.
- Prepare the planter for planting: Line the inside of the planter with landscape fabric to prevent soil erosion and improve drainage; add gravel to the bottom.
With a bit of effort, you’ll have a unique house number planter that boosts your curb appeal on a budget.
Planting and Personalizing Your Planter
Planting is where you bring your house number planter to life. Choosing the right plants and arranging them creatively enhances the overall look.
These tips help in personalizing your planter.
Selecting the Right Soil
Use a high-quality potting mix designed for containers. This type of soil provides adequate drainage, aeration, and nutrients for your plants. Avoid using garden soil, as it can become compacted and inhibit root growth.
Creative Planting Techniques
Consider combining various colors, textures, and heights for a visually appealing arrangement. Place taller plants in the back of the planter and shorter, trailing plants along the front edge. This creates depth and dimension, enhancing the planter’s aesthetic appeal.
Planting techniques such as these add an extra layer of personalization to your curb appeal project.
Maintenance and Care Tips
Proper maintenance ensures your house number planter remains vibrant and attractive. Regular care includes watering, fertilizing, and pruning.
Here’s a few maintenance tips.
Watering and Fertilizing
Water your plants regularly, especially during hot and dry periods. Check the soil moisture by sticking your finger about an inch deep into the soil. If it feels dry, it’s time to water. Use a balanced liquid fertilizer every few weeks to provide essential nutrients for healthy growth.
Pruning and Pest Control
Prune your plants regularly to remove dead or yellowing leaves and maintain their shape. Inspect your plants for pests such as aphids or spider mites. Treat any infestations promptly with insecticidal soap or neem oil.
Regular maintenance makes your DIY planter an ongoing success.
Conclusion
Creating a DIY house number planter for under $75 not only enhances your home’s curb appeal but also provides a rewarding and budget-friendly project. By following these tips, you can transform your entrance into an inviting and personalized space. Enjoy your beautiful, new house number planter and the compliments that come with it!
| Key Point | Brief Description |
|---|---|
| 💡 Material Selection | Choose affordable, weather-resistant options like cedar or reclaimed wood. |
| 🌱 Plant Choices | Select succulents or annuals for low-maintenance color and visual appeal. |
| 🛠️ Construction Steps | Involve measuring, cutting, assembling, and attaching the house numbers. |
| 💧 Maintenance | Water regularly, fertilize occasionally, and prune as needed to keep the planter vibrant. |
Frequently Asked Questions
▼
Cedar and redwood are excellent options because they are naturally resistant to moisture and pests. Pine is a more budget-friendly option, but it will need to be treated to prevent rot.
▼
Consider your local climate and the amount of sunlight your planter will receive. Succulents are a great choice for sunny areas and require little maintenance. Annuals provide seasonal color and variety.
▼
The size of your planter depends on the space available and the number of house numbers you need to display. A good starting point is about 12 inches deep and wide enough to accommodate your numbers and plants.
▼
Most house numbers come with mounting hardware and instructions. Use a drill or screwdriver to attach the numbers securely to the front of the planter. Ensure numbers are level and evenly spaced for easy readability.
▼
Water your planter when the top inch of soil feels dry to the touch. The frequency will depend on the type of plants, weather conditions, and drainage. Overwatering is just as harmful as underwatering, so always check the soil first.
Conclusion
Elevating your home’s curb appeal with a DIY house number planter for under $75 is an achievable and fulfilling project. By following these steps, you can create a personalized and attractive entrance that adds value and charm to your home.


