Boost Your Home Security: DIY Smart Doorbell Under $100
Anúncios
Boost your home security and enhance convenience by installing a DIY smart doorbell for under $100, a cost-effective solution that offers features like video monitoring, motion detection, and two-way communication, providing peace of mind and control over your home’s entrance.
Looking to enhance your home security without breaking the bank? Installing a DIY smart doorbell for under $100 is a fantastic and affordable way to do just that. With a few simple steps, you can add a layer of protection and convenience to your home.
Anúncios
Why Install a DIY Smart Doorbell?
A smart doorbell is more than just a gadget; it’s a security enhancement and a convenience booster. Before diving into the installation process, let’s explore why a DIY smart doorbell is a worthy addition to your home.
Smart doorbells offer a range of benefits, combining security features with user-friendly technology. They provide real-time monitoring, remote access, and peace of mind, all within a small, easy-to-install device.
Anúncios
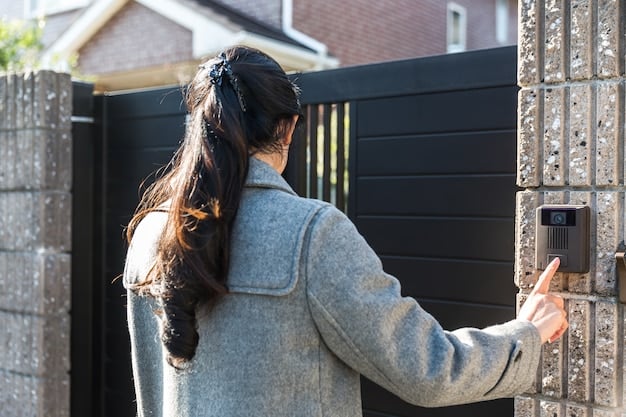
Enhanced Home Security
The primary reason many homeowners opt for a smart doorbell is to enhance security. These devices include a camera that allows you to see who is at your door, even when you’re not home.
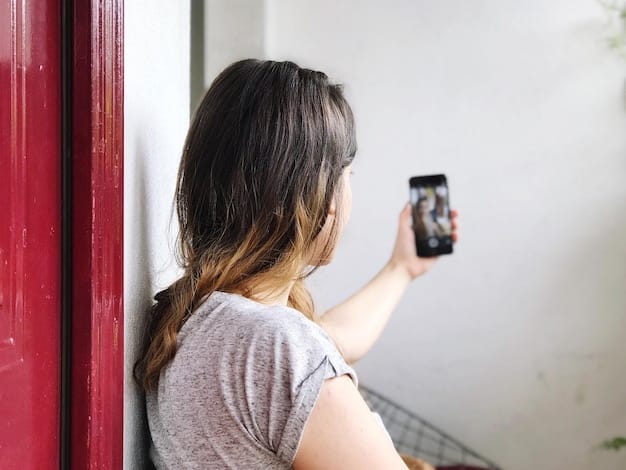
Convenience and Control
Smart doorbells add a layer of convenience to your daily life. With features like two-way audio, you can communicate with visitors remotely, whether you’re upstairs or across town.
Here are some of the key advantages:
- Remote Monitoring: View your doorstep from anywhere using your smartphone.
- Motion Detection: Receive alerts when motion is detected near your door.
- Two-Way Communication: Talk to visitors without opening the door.
- Video Recording: Capture footage of events at your doorstep.
Investing in a DIY smart doorbell is a practical way to upgrade your home security and convenience without spending a fortune. It’s a simple project that delivers significant benefits.
Choosing the Right Smart Doorbell (Under $100)
With a budget of under $100, finding the right smart doorbell requires some research. While you might not get all the bells and whistles of higher-end models, you can still find devices that offer essential features.
Consider factors like video quality, motion detection, ease of installation, and compatibility with other smart home devices. Reading reviews and comparing specifications will help you make an informed decision.
Key Features to Look For
When shopping for a budget-friendly smart doorbell, prioritize features that matter most to your security and convenience.
Popular Brands and Models
Several brands offer reliable smart doorbells within the $100 price range. Explore options from reputable manufacturers known for quality and customer support.
Here are some features to consider:
- Video Resolution: Aim for at least 720p for clear video footage.
- Motion Sensitivity: Adjustable sensitivity to minimize false alerts.
- Night Vision: Infrared night vision for clear images in low-light conditions.
- Mobile App: User-friendly app for easy control and notifications.
Choosing the right smart doorbell involves balancing your needs with the available budget. By focusing on essential features and doing your homework, you can find a device that enhances your home security without breaking the bank.
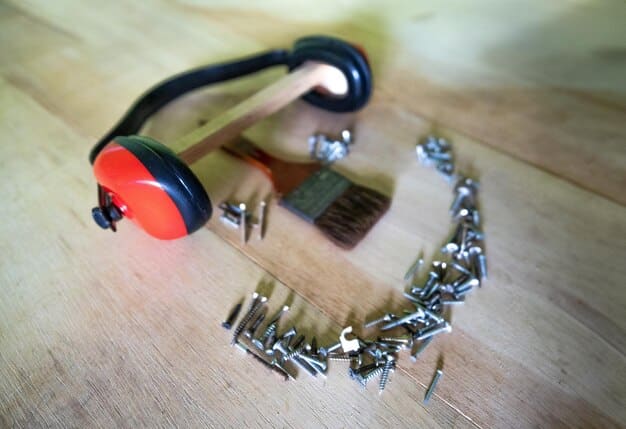
Tools and Materials Needed for Installation
Before you begin the installation process, gather all the necessary tools and materials. Having everything on hand will make the project smoother and more efficient.
The tools required are generally basic and can be found in most households. Proper preparation will ensure a hassle-free installation experience.
Essential Tools
Make sure you have these essential tools before starting the installation.
Additional Materials
Besides the tools, you’ll need a few additional materials to complete the installation.
Here are the basics:
- Screwdriver: Both Phillips and flathead screwdrivers.
- Drill: For drilling pilot holes if needed.
- Wire Strippers: To safely strip the ends of wires.
- Voltage Tester: To ensure power is off before working with wires.
Having the right tools and materials is crucial for a successful DIY smart doorbell installation. Double-check your list before you start to avoid unnecessary interruptions.
Step-by-Step Installation Guide
Installing a DIY smart doorbell is a straightforward process that can be completed in a few simple steps. Follow this guide to ensure a successful installation.
Each step is designed to be easy to understand, even for those with limited DIY experience. Safety should always be your top priority during the installation.
Step 1: Prepare the Wiring
Turn off the power at the breaker and prepare the existing doorbell wiring.
Step 2: Mount the Doorbell
Securely mount the smart doorbell to the doorframe or wall.
Step 3: Connect the Wires
Carefully connect the wires, following the manufacturer’s instructions.
Step 4: Test the Doorbell
Turn the power back on and test the doorbell to ensure it’s working correctly.
- Turn off the Power: Always turn off the power at the breaker before working with electrical wires.
- Follow Instructions: Carefully follow the instructions provided by the doorbell manufacturer.
- Test Connectivity: Ensure the doorbell is connected to your Wi-Fi network and the mobile app.
By following these steps carefully, you can successfully install your DIY smart doorbell and start enjoying its benefits. Remember to prioritize safety and double-check all connections.
Connecting to Your Wi-Fi and Setting Up the App
Once the physical installation is complete, the next step is to connect your smart doorbell to your home Wi-Fi network and set up the mobile app. This will allow you to access all the features of your new device.
The connection process is generally simple and user-friendly. Ensure you have your Wi-Fi password handy and follow the instructions provided by the manufacturer.
Connecting to Wi-Fi
Connect your smart doorbell to your home Wi-Fi network.
Setting Up the Mobile App
Download and set up the mobile app to control and monitor your doorbell.
Here’s what you need to do:
- Download the App: Download the official app from the App Store or Google Play.
- Create an Account: Create an account and follow the setup instructions.
- Connect to Doorbell: Connect the app to your smart doorbell using the provided QR code or serial number.
- Customize Settings: Customize settings such as motion sensitivity, notification preferences, and video recording options.
Connecting to your Wi-Fi and setting up the app are essential steps in maximizing the functionality of your smart doorbell. Take the time to customize the settings to suit your specific needs and preferences.
Troubleshooting Common Issues
Even with careful installation, you might encounter some common issues with your DIY smart doorbell. This section provides troubleshooting tips to help you resolve these problems.
Addressing issues promptly will ensure your smart doorbell operates smoothly and provides the security and convenience you expect.
Connectivity Problems
If your doorbell is having trouble connecting to Wi-Fi, try these solutions.
Video and Audio Issues
If you’re experiencing problems with video or audio quality, follow these tips.
Here are some useful tips:
- Check Wi-Fi Signal: Ensure your Wi-Fi signal is strong near the doorbell.
- Restart the Device: Try restarting the doorbell and your router.
- Update Firmware: Keep the doorbell’s firmware up to date.
- Adjust Settings: Adjust video and audio settings in the app.
Troubleshooting common issues can help you keep your DIY smart doorbell running smoothly. By following these tips, you can quickly resolve problems and enjoy the full benefits of your device.
| Key Point | Brief Description |
|---|---|
| 🔒 Security Boost | Enhance home security with video monitoring and motion detection. |
| 📱 Remote Access | Monitor your doorstep from anywhere using a smartphone app. |
| 💸 Cost-Effective | Affordable security solution for under $100. |
| 🛠️ Easy Install | Simple DIY project, no professional help needed. |
FAQ
▼
Yes, several reputable brands offer basic but functional smart doorbells within this price range. Look for models with essential features like 720p video and motion detection.
▼
Not at all! Most DIY smart doorbells come with easy-to-follow instructions. You’ll need basic tools like a screwdriver, and it usually involves connecting a few wires.
▼
Most smart doorbells require existing doorbell wiring for power. However, some models offer battery-powered options, but these may require more frequent battery changes.
▼
A stable 2.4GHz Wi-Fi connection is generally recommended for smart doorbells. Make sure your Wi-Fi signal is strong enough near your front door for optimal performance.
▼
Consult the manufacturer’s troubleshooting guide or online forums for solutions to common issues. Many companies also offer customer support to assist with installation problems.
Conclusion
Installing a DIY smart doorbell for under $100 is a smart and budget-friendly way to enhance your home security and convenience. With the right device, tools, and a bit of DIY spirit, you can easily add this valuable upgrade to your home.


