DIY Pendant Light: Upgrade Your Lighting for Under $40
Anúncios
Upgrade your home lighting affordably by creating a DIY pendant light fixture for under $40, enhancing your space with a stylish and personalized touch without breaking the bank.
Looking to refresh your home décor without spending a fortune? You can easily upgrade your lighting: DIY pendant light fixture for under $40 offers a budget-friendly and stylish solution, allowing you to add a unique touch to any room.
Anúncios
Why Choose a DIY Pendant Light Fixture?
Pendant lights are a fantastic way to add both ambient and task lighting to a space. Opting for a DIY approach not only saves you money but also allows you to customize the fixture to perfectly match your interior design. Here’s why you should consider making your own pendant light.
Cost-Effectiveness
One of the primary advantages of a DIY project is the cost savings. Store-bought pendant lights can be quite expensive, especially if you’re looking for unique designs. Creating your own allows you to source materials affordably and reuse items you might already have, keeping your project under $40.
Anúncios
Personalization
When you DIY, you’re in complete control of the design. From the materials you use to the shape and size of the fixture, you can tailor every aspect to your personal taste. This level of customization ensures that your new lighting feature perfectly complements your existing décor.
- Unique Design: Craft a one-of-a-kind lighting fixture.
- Affordable Materials: Use budget-friendly or repurposed items.
- Perfect Match: Customize to complement your home décor.
- Satisfaction: Enjoy the accomplishment of creating something yourself.
Choosing a DIY pendant light fixture is a rewarding experience that combines creativity, cost savings, and personalization. It’s an excellent way to add character to your home while staying within a tight budget.
Gathering Your Materials
Before diving into the project, it’s crucial to gather all the necessary materials. This step ensures a smooth and efficient crafting process. Here’s what you’ll typically need to create a stunning pendant light for under $40.
Essential Components
You’ll need a few essential components, including a light socket, pendant light cord, and a light bulb. These items are readily available at most hardware stores or online retailers and form the foundation of your pendant light.
Creative Shades
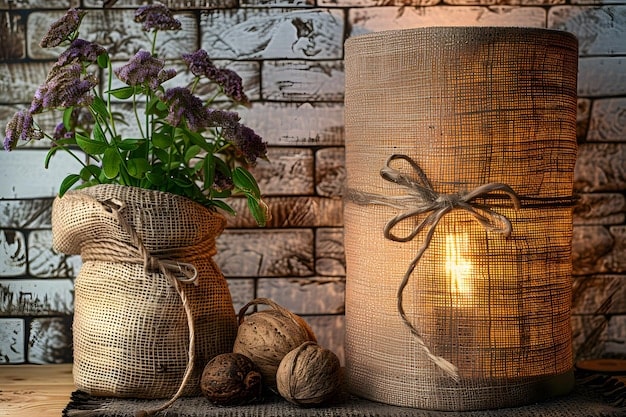
The shade is where you can really let your creativity shine. Consider repurposing items like mason jars, wire baskets, or even old hats to create a unique and eye-catching shade. The possibilities are virtually endless, allowing you to tailor the design to your personal style.
- Light Socket: Basic component to hold the bulb safely.
- Pendant Cord: Provides the electrical connection.
- Mason Jars: Versatile for a rustic look.
- Wire Basket: Adds an industrial touch.
Gathering the right materials is the first step toward creating a beautiful and cost-effective DIY pendant light. By combining essential components with creative shades, you can achieve a customized lighting solution that enhances your home’s aesthetic.
Step-by-Step Guide to Building Your Pendant Light
Now that you’ve gathered your materials, it’s time to start assembling your DIY pendant light. This step-by-step guide will walk you through the process, ensuring a safe and successful outcome. Remember to always disconnect power before working on any electrical project.
Preparing the Cord and Socket
Begin by threading the pendant light cord through your chosen shade. Next, carefully attach the cord to the light socket, following the manufacturer’s instructions. Ensure all connections are secure to prevent any electrical hazards.
Assembling the Shade
Depending on the type of shade you’re using, the assembly process will vary. For mason jars, you might need to drill a hole in the lid. For wire baskets, you can simply attach the socket using zip ties or wire. Make sure the shade is securely fastened to the cord and socket.
- Thread Cord: Pass the cord through the shade opening.
- Attach Socket: Securely connect the cord to the socket.
- Fasten Shade: Ensure the shade is properly attached to the socket.
- Test Connection: Verify the electrical connection before hanging.
By following these step-by-step instructions, you can confidently assemble your DIY pendant light, creating a stunning lighting fixture that enhances your home’s ambiance.
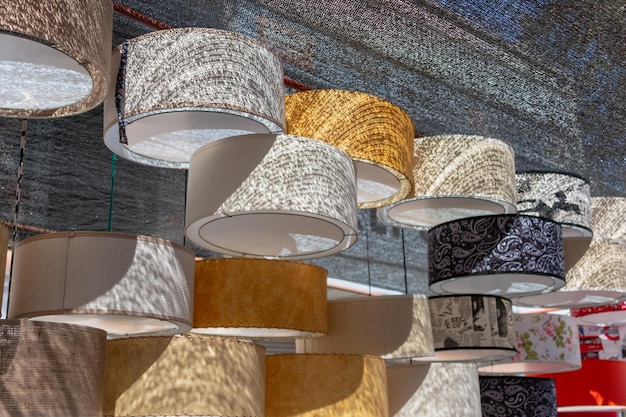
Creative Shade Ideas for Inspiration
One of the most exciting parts of creating a DIY pendant light is choosing the shade. The shade not only diffuses the light but also adds character and style to your fixture. Here are some creative shade ideas to inspire your next lighting project.
Repurposed Items
Look around your home for items that can be repurposed into unique shades. Vintage bowls, metal colanders, or even fabric scraps can be transformed into eye-catching lighting features. Get creative and think outside the box to find truly one-of-a-kind materials.
Natural Elements
Bring a touch of nature indoors by using natural elements like bamboo, rattan, or woven grass. These materials add warmth and texture to your lighting, creating a cozy and inviting atmosphere. Consider using these elements for a bohemian or rustic-themed room.
- Vintage Birdcage: Adds a whimsical, antique touch.
- Glass Bottle: Creates a unique, upcycled look.
- Colorful Yarn: Introduces texture and vibrancy.
- Paper Lantern: Provides soft, diffused light.
Exploring creative shade ideas is key to designing a DIY pendant light that reflects your personal style. By repurposing items and incorporating natural elements, you can craft a lighting fixture that’s not only functional but also a work of art.
Safety Tips and Considerations
While DIY projects can be fun and rewarding, it’s crucial to prioritize safety, especially when working with electricity. Keep these safety tips in mind to ensure a worry-free crafting experience.
Disconnect Power
Always disconnect the power supply before working on any electrical components. This simple step can prevent electric shock and ensure your safety throughout the project. Double-check that the power is off before touching any wires or sockets.
Use Proper Wiring
Use the proper gauge and type of wiring for your pendant light to avoid overheating or electrical hazards. If you’re unsure about the correct wiring, consult a professional electrician for guidance. Proper wiring is essential for the safe operation of your lighting fixture.
- Turn Off Power: Always disconnect the power source.
- Check Wiring: Use the correct gauge and type of wire.
- Secure Connections: Ensure all connections are tight and insulated.
- Inspect Regularly: Periodically check for wear and tear.
By adhering to these safety tips and considerations, you can confidently create your DIY pendant light, knowing that you’ve taken the necessary precautions to protect yourself and your home.
Hanging and Displaying Your New Light
With your DIY pendant light complete, it’s time to hang and display your new creation. Proper installation is crucial for both aesthetic appeal and safety. Follow these guidelines to ensure your pendant light looks its best and functions correctly.
Choosing the Right Location
Consider the purpose of the light and the overall design of the room when choosing a location. Pendant lights work well over kitchen islands, dining tables, or as accent lighting in living rooms. Make sure the location is accessible and suitable for electrical connections.
Adjusting the Height
Adjust the height of the pendant light to achieve the desired lighting effect. Generally, the bottom of the shade should be about 30-36 inches above a dining table or kitchen island. Experiment with different heights to find the perfect balance between illumination and aesthetics.
| Key Point | Brief Description |
|---|---|
| 💡 Cost-Effectiveness | Saves money compared to store-bought lights. |
| 🎨 Personalization | Customize design to match your interior. |
| 🛠️ Material Gathering | Use mason jars, baskets, and more. |
| ⚠️ Safety First | Disconnect power before working. |
Frequently Asked Questions
▼
You’ll typically need wire strippers, a screwdriver, a drill (if needed for the shade), and measuring tape. Safety glasses are also recommended for eye protection.
▼
It’s best to use LED bulbs, as they consume less energy and produce less heat compared to incandescent bulbs, making them safer for DIY lighting fixtures.
▼
Always disconnect the power before cleaning. Use a soft, dry cloth to gently wipe the shade and cord. Avoid using water or harsh chemicals, especially on electrical components.
▼
If you’re not confident in your electrical skills, it’s best to consult a certified electrician. They can safely install the pendant light for you, ensuring it meets all safety standards.
▼
Websites like Pinterest, Instagram, and home décor blogs are excellent sources of inspiration. Look for projects that match your style and skill level to get started.
Conclusion
Creating a DIY pendant light fixture for under $40 is a fantastic way to add a personalized touch to your home while staying within budget. By gathering affordable materials, following safety guidelines, and unleashing your creativity, you can design a unique lighting solution that enhances the ambiance of any room.


