DIY Deck: Increase Living Space for Under $500
Anúncios
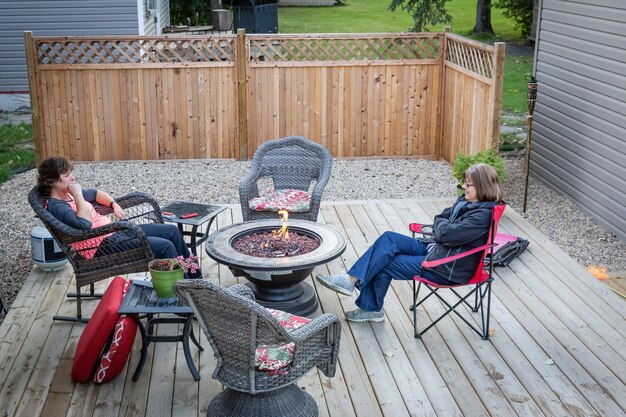
Increase your living space on a budget by building a DIY deck for under $500, using readily available materials and simple construction techniques that add value and appeal to your home with minimal investment.
Looking to increase your living space: build a DIY deck for under $500? You can transform your backyard into a relaxing oasis without breaking the bank. This guide provides a step-by-step approach to designing and constructing a deck on a budget.
Anúncios
Planning Your Budget-Friendly Deck
Before diving into construction, careful planning is essential. This initial phase helps you define your deck’s size, design, and material choices, ensuring you stay within the $500 budget.
Consider the following steps to set the stage for a successful DIY deck project.
Anúncios
Assess Your Space and Needs
Start by evaluating the area where you plan to build your deck. Consider factors like sunlight exposure, ground level, and proximity to your house.
Determine how you intend to use the deck. Will it be a space for outdoor dining, relaxation, or entertaining? Understanding your needs will help you define the ideal size and layout.
Design a Simple and Efficient Deck
Opt for a straightforward deck design to minimize material costs and construction complexity. A rectangular or square deck is often the most economical and easiest to build.
Avoid elaborate features like built-in benches, multiple levels, or intricate railing systems, as these can significantly increase material and labor expenses.
- Keep it Basic: Simple designs use less material.
- Rectangular Shape: Easiest and most cost-effective to build.
- Single Level: Avoids the extra cost of steps or multiple levels.
A well-thought-out plan is the foundation of a successful and budget-friendly deck-building project. This initial investment of time and effort will pay off in the long run, preventing costly mistakes and ensuring that your finished deck meets your needs and exceeds your expectations.
Choosing Affordable Materials
Selecting the right materials is crucial for keeping your deck build under $500. Pressure-treated lumber is a popular choice for its durability and affordability, but there are other options to consider.
Explore these material choices to maximize your budget without sacrificing quality.
Pressure-Treated Lumber
Pressure-treated lumber is a cost-effective option for deck framing and decking boards. It’s treated to resist rot, decay, and insect infestation, making it a durable choice for outdoor use.
Compare prices at local lumberyards and home improvement stores to find the best deals. Consider using reclaimed or recycled lumber if available, as this can be a significantly cheaper alternative.
Alternative Decking Materials
While pressure-treated lumber is a common choice, you might explore alternative decking materials to save money. Consider using pallet wood for decking boards, but be prepared for extra preparation and sanding.
Another option is to use composite decking, which is made from recycled plastic and wood fibers. While it may have a higher initial cost, composite decking requires less maintenance and can last longer than traditional wood decking.
- Pallet Wood: Requires extra work, but can be very cheap.
- Reclaimed Lumber: Environmentally friendly and can save money.
- Composite Decking: Lower maintenance, but higher initial cost.
The right material can drastically affect the cost of your deck. By doing your research and comparing costs, you can make informed decisions that keep the project on budget while providing a deck that lasts for years to come.
Essential Tools and Equipment
Having the right tools on hand can make the deck-building process smoother and more efficient. While some tools may be borrowed or rented, others are essential for a successful DIY project.
Here’s a list of tools you’ll likely need for building your deck.
Basic Hand Tools
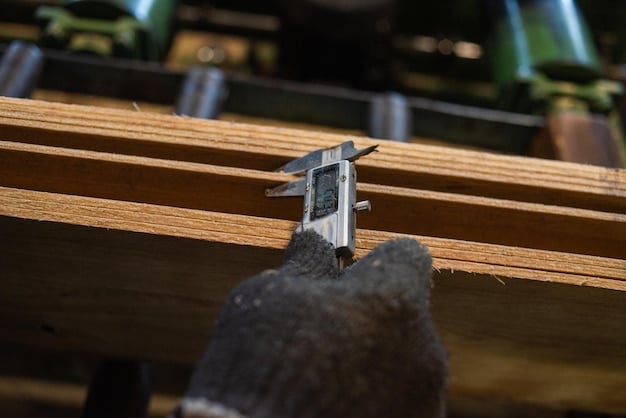
Invest in a basic set of hand tools, including a hammer, measuring tape, level, square, and hand saw. These tools are essential for measuring, cutting, and assembling your deck components.
Consider borrowing or renting power tools like a circular saw, drill, and jigsaw to make more precise cuts and speed up the assembly process.
Safety Gear
Safety should be a top priority when building your deck. Invest in safety glasses, work gloves, and a dust mask to protect yourself from potential hazards like flying debris, splinters, and dust particles.
If you’re working at heights, consider using a safety harness and appropriate fall protection equipment.
- Hammer: For driving nails and assembling frames.
- Measuring Tape: Essential for accurate dimensions.
- Safety Glasses: Protects your eyes from debris.
Having the right tools on hand can make the deck-building process not only easier but also safer. It is important to ensure that all tools have safety approvals before use.
Building the Deck Frame
The deck frame provides the structural support for your decking boards. Building a solid and level frame is crucial for ensuring the stability and longevity of your deck.
Follow these steps to construct a sturdy frame for your DIY deck.
Prepare the Ground
Start by clearing the area where you plan to build your deck. Remove any vegetation, rocks, or debris that could interfere with the frame construction.
Level the ground using a shovel and rake, ensuring a flat and even surface for the frame supports.
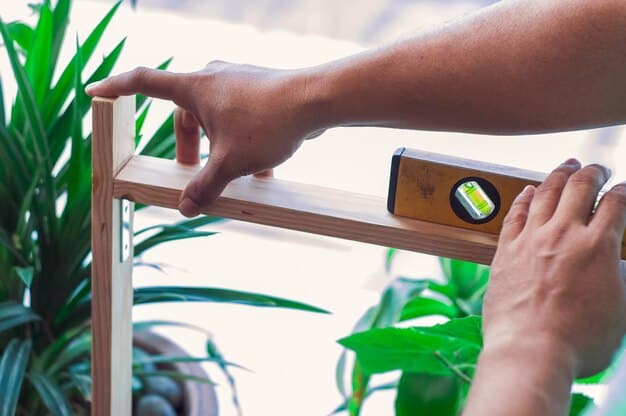
Construct the Frame
Build the deck frame using pressure-treated lumber, following your design plans. Cut the lumber to the appropriate lengths and assemble the frame using screws or nails.
Ensure the frame is square by measuring the diagonals and adjusting the corners until they are equal.
- Leveling: Ensures a flat and even surface.
- Square Frame: Guarantees structural integrity.
- Proper Fasteners: Use screws or nails designed for outdoor use.
Building the frame is a foundational step, and its accuracy directly impacts the final product. Taking your time and double-checking measurements is key to a successful outcome.
Installing the Decking
Once the frame is complete, it’s time to install the decking boards. This step involves attaching the decking material to the frame, creating the surface of your deck.
Here are some tips for installing your decking boards securely and attractively.
Measure and Cut the Boards
Measure the length of your deck frame and cut the decking boards to the appropriate size. Use a circular saw or hand saw to make straight, clean cuts.
Leave a small gap between the boards to allow for expansion and contraction due to temperature and humidity changes.
Attach the Decking to the Frame
Attach the decking boards to the frame using screws or nails, ensuring they are securely fastened. Use a consistent spacing pattern for a professional-looking finish.
Consider using hidden fasteners for a seamless, screw-free surface. These fasteners attach to the underside of the decking boards, creating a clean and modern look.
- Even Spacing: Ensures consistent gaps for expansion.
- Hidden Fasteners: Creates a clean and modern look.
- Secure Attachment: Using appropriate screws or nails.
Installing the decking is where your deck starts to take shape. Careful attention to spacing and fastening will not only improve its appearance but also its long-term performance.
Finishing Touches and Safety Considerations
Once the decking is installed, it’s time to add the finishing touches and ensure your deck is safe for use. This includes sanding, sealing, and adding railing or steps if necessary.
Follow these steps to complete your DIY deck project and enjoy your new outdoor space.
Sanding and Sealing
Sand the decking boards to remove any splinters or rough edges, creating a smooth and comfortable surface. Use medium-grit sandpaper and a sanding block or power sander for best results.
Apply a sealant or stain to protect the wood from moisture, UV rays, and wear. Choose a product that is specifically designed for outdoor use and follow the manufacturer’s instructions.
Safety Railings and Steps
If your deck is elevated more than 30 inches above ground level, it’s essential to install safety railings to prevent falls. Use pressure-treated lumber or metal posts for the railings, ensuring they are securely attached to the deck frame.
Add steps if necessary to provide easy access to your deck. Use the same decking material for the steps to create a cohesive look and feel.
- Smooth Surface: Sanding ensures comfort and safety.
- Protective Sealant: Extends the life of the wood.
- Secure Railings: Prevents falls and ensures safety.
Finishing touches are just as crucial as the initial construction. They not only enhance the appearance of your deck but also ensure its safety and longevity. A well-finished deck is a welcoming and safe addition to any home.
| Key Point | Brief Description |
|---|---|
| 💰 Budget Planning | Stick to a simple design and assess needs to stay under $500. |
| 🪵 Material Selection | Use pressure-treated lumber, pallets, or reclaimed wood for cost savings. |
| 🛠️ Frame Building | Ensure level ground, square frame, and secure construction. |
| 🚧 Safety First | Always use safety gear and ensure railings are installed if needed. |
Frequently Asked Questions
▼
Pressure-treated lumber is generally the most cost-effective option for building a deck. Pallet wood can be cheaper, but requires significantly more preparation and may not last as long.
▼
Stick to a simple design, use affordable materials like pressure-treated lumber or reclaimed wood, borrow tools, and do the work yourself to save on labor costs and keep the project under budget.
▼
Permit requirements vary by location, so it’s important to check with your local building department before starting construction. Many areas require permits for decks above a certain height or size.
▼
The lifespan of a DIY deck depends on the materials used and how well it’s maintained. Pressure-treated lumber decks can last 15-20 years, while composite decks can last even longer with proper care.
▼
Always wear safety glasses, work gloves, and a dust mask to protect yourself from hazards. Use proper fall protection equipment when working at heights, and ensure that all tools are in good working condition and used correctly.
Conclusion
Building a DIY deck for under $500 is an achievable goal with careful planning, affordable materials, and a bit of elbow grease. By following these steps, you can transform your outdoor space into a comfortable and inviting area to relax and entertain, adding value to your home without breaking the bank.


